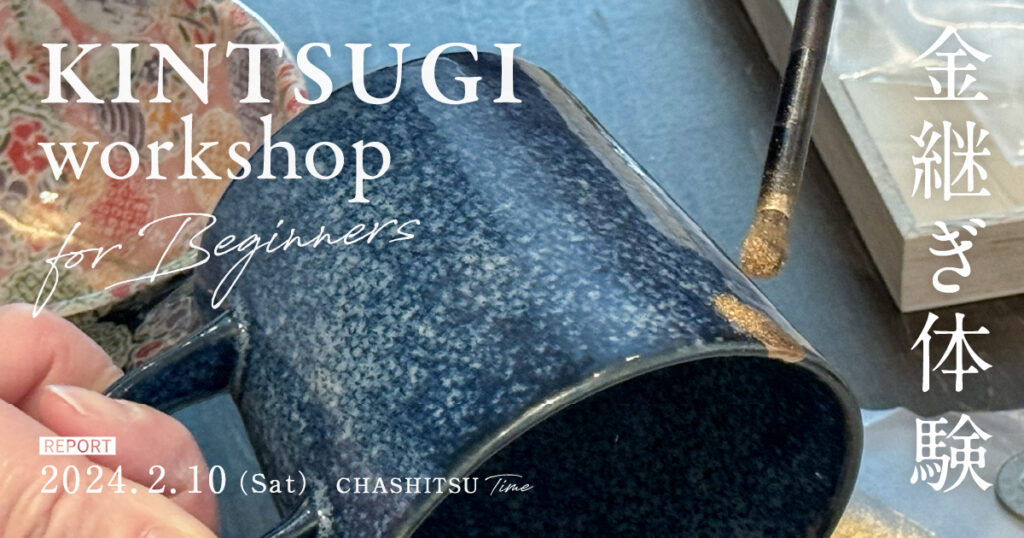
2月10日開催「初心者さん歓迎!金継ぎ体験」レポート
*Followed by English translation.
こんにちは、CHASHITSU timeで広報をしている橋本です。
1月のいけばな体験に続き、2月10日(土)に初心者向け「金継ぎ体験」を開催しました!
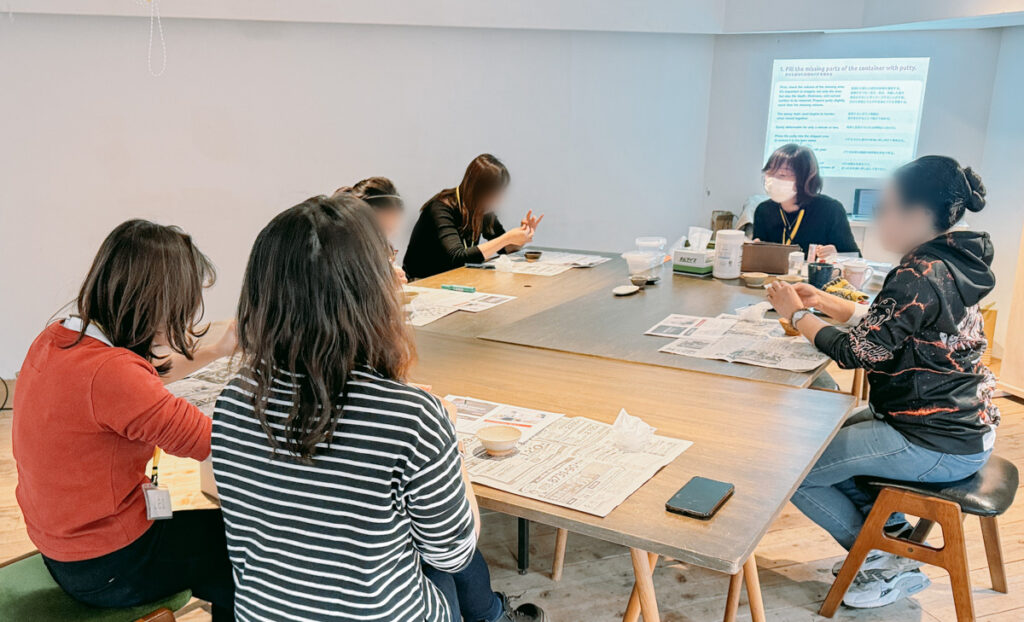
今回は午前の部と午後の部の2回開催!英語でのサポート付です。
漆塗りなど、東南アジアを中心に食器に漆を塗る文化はあるものの、修復に漆を使う技術は日本の金継ぎだけ。海外でもKINTSUGIと呼ばれています。コロナ禍で海外でも金継ぎに関心を持った方も増えたのだとか。
参加者の中には、割れた器を大事に持っていらっしゃって、「いつか先生に教えてもらって、自分でも金継ぎできるようになりたい」と思われていた日本人の方。
「日本の伝統文化として金継ぎに興味がありましたが、機会がなくて。ちょうどよく割れた器もなかったので、器の購入もできて助かりました!」と話されていた外国人の方など、20〜60代の幅広い層の方が参加してくださりました◎
講師は神戸きなこ堂の井原 貴奈子さん。
神戸にて本漆の金継ぎ教室を開催されており、簡易金継ぎワークショップも定期開催されています◎
今回は気軽な入門編!として、「簡易金継ぎ」の体験です。
金継ぎと言えば天然の漆を使う「本漆金継ぎ」ですが、温度や湿度の管理や、日を置いて作業を重ねる必要があり、1つの器を仕上げるのに少なくとも3ヶ月以上かかります。簡易金継ぎは漆の代わりに合成樹脂を使うことで2-3時間で仕上げられる、お手軽な方法です。
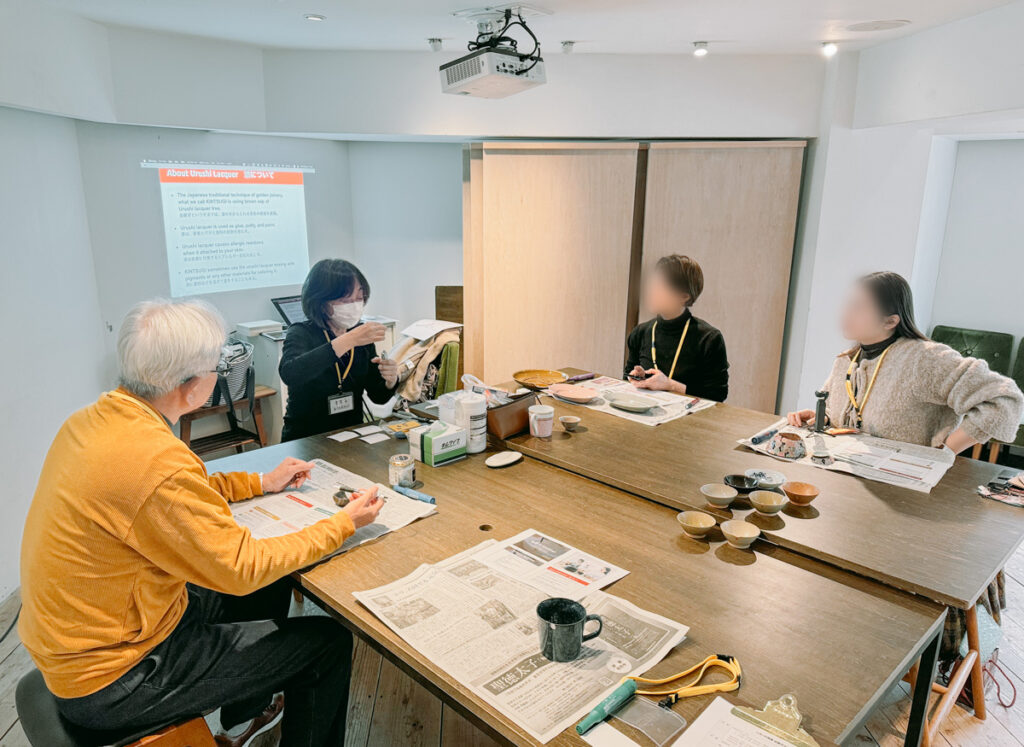
ドリンク片手に金継ぎタイム!
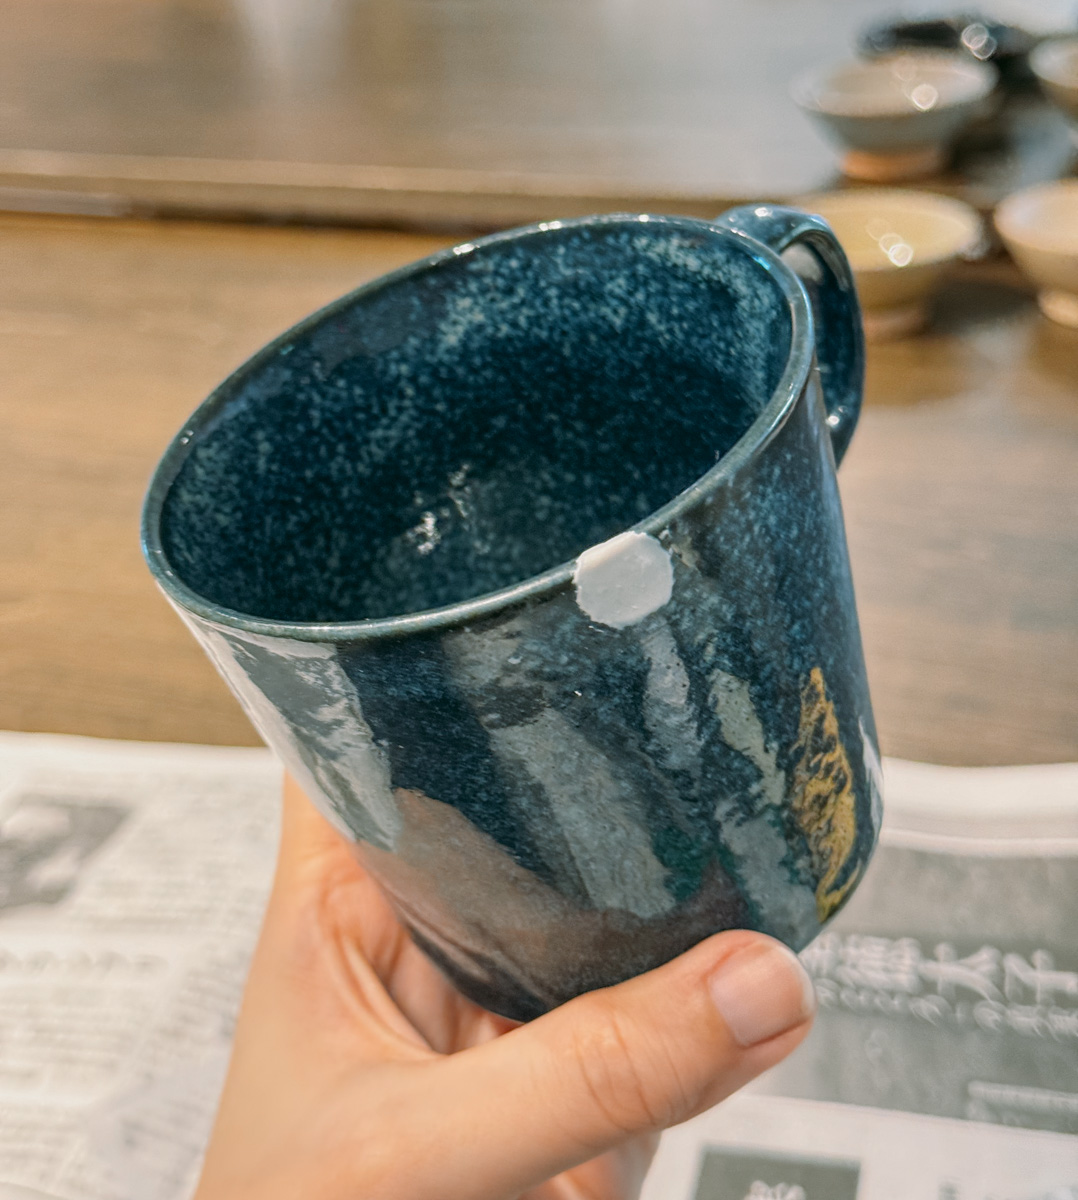
まずはお持ち込みいただいた器を先生に見ていただき、金継ぎの難易度や工程をチェック。
簡易金継ぎで使う材料は食品衛生法の基準に適合していないため、直した後どう使いたいかや扱う際の注意点も確認しました。
(本漆金継ぎは本物の漆・小麦粉・純金等を使い、金継ぎ後は食器として使えます。CHASHITSU timeでも欠けた器は、スタッフが楽しく本漆金継ぎをしています。)
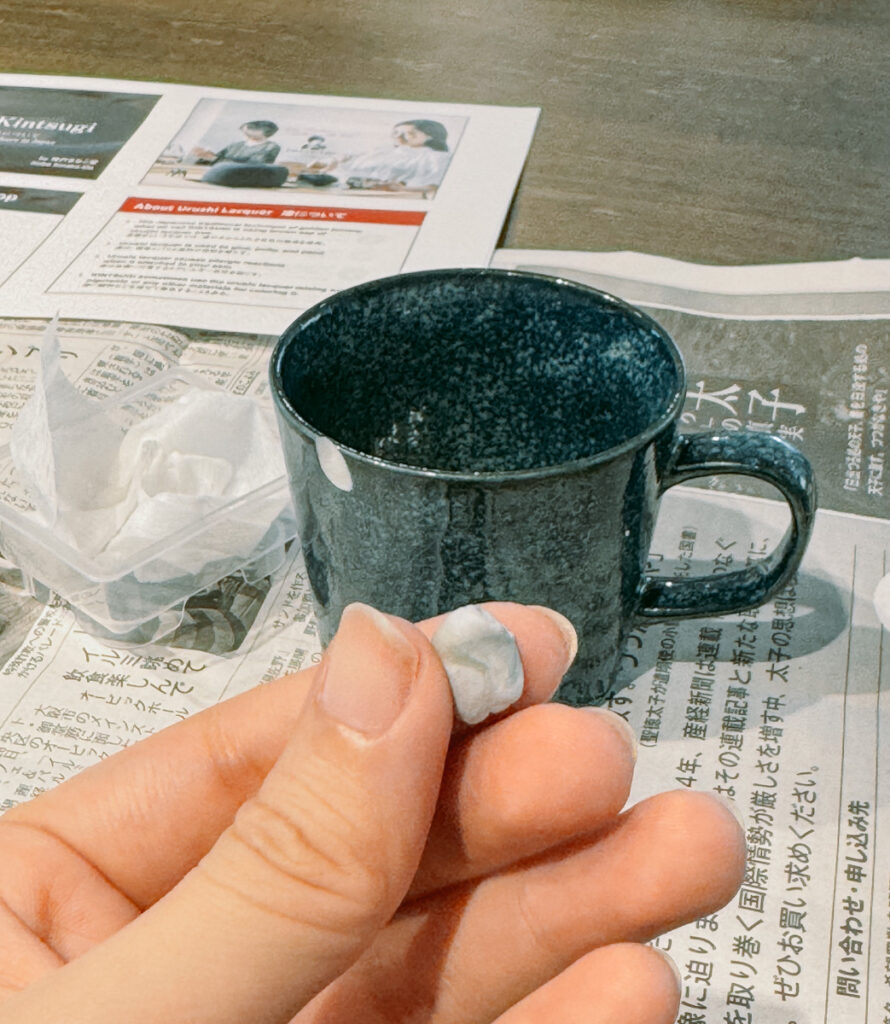
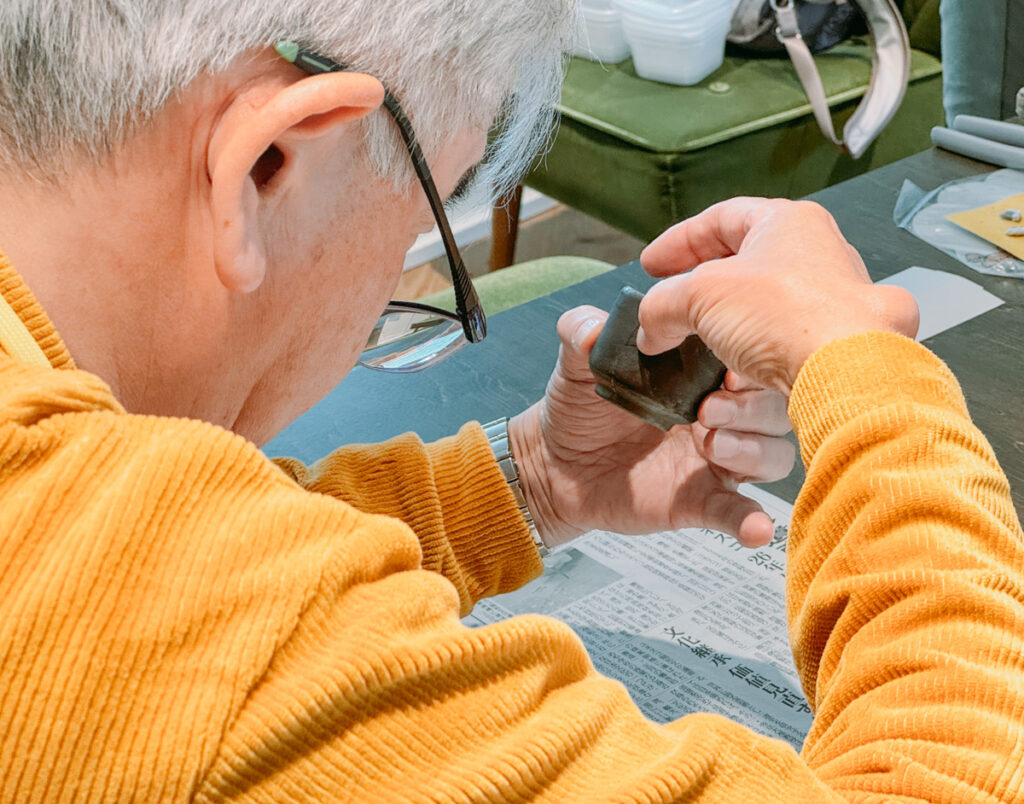
(1)パテ埋め・接着
欠けた器は、樹脂のパテで欠けた部分を埋めていきます。
2種類のパテを練り合わせると硬化がはじまり、数分で固まってしまうので、ちょっと駆け足!
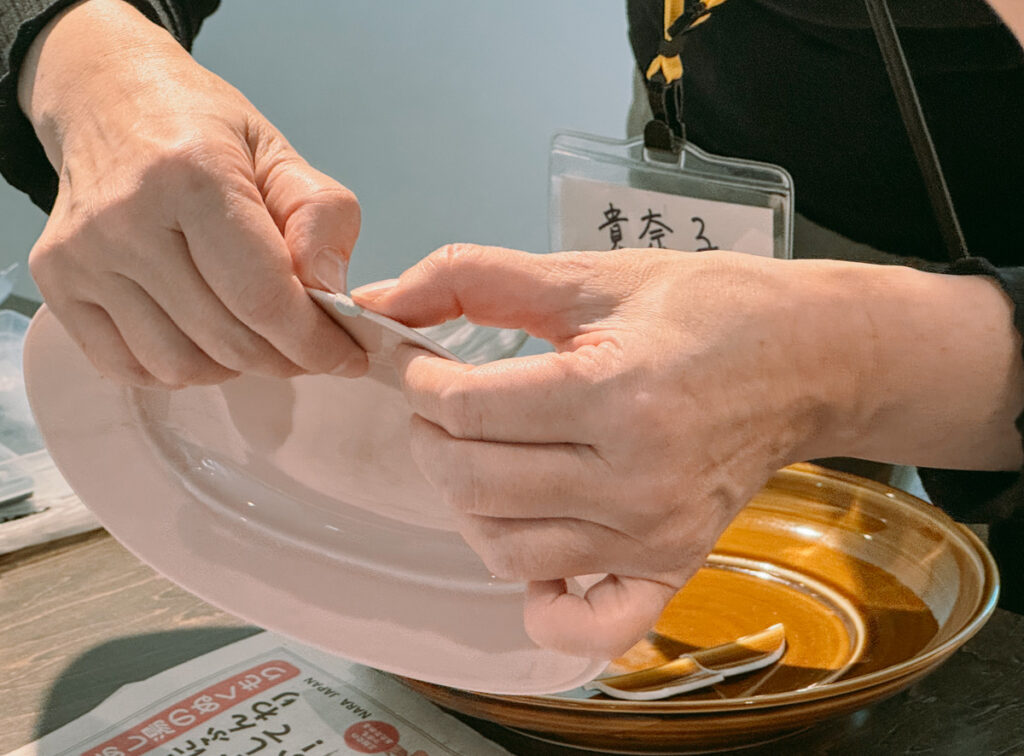
割れた器は、破片同士を接着剤で丁寧にくっつけ、はみ出た接着剤をこそぎ落とします。
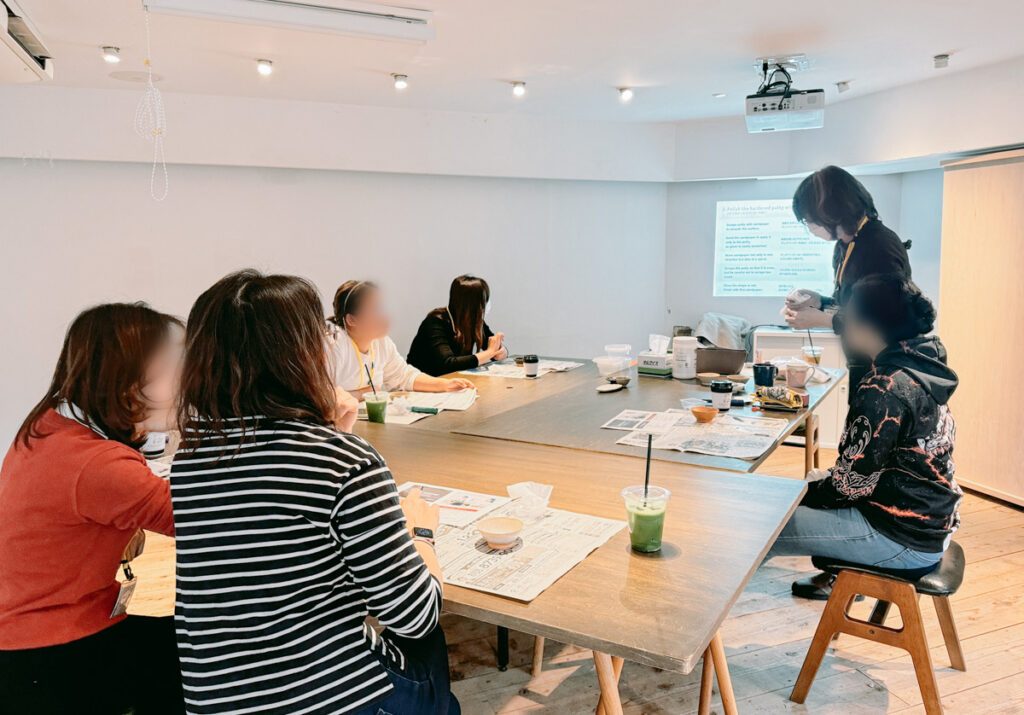
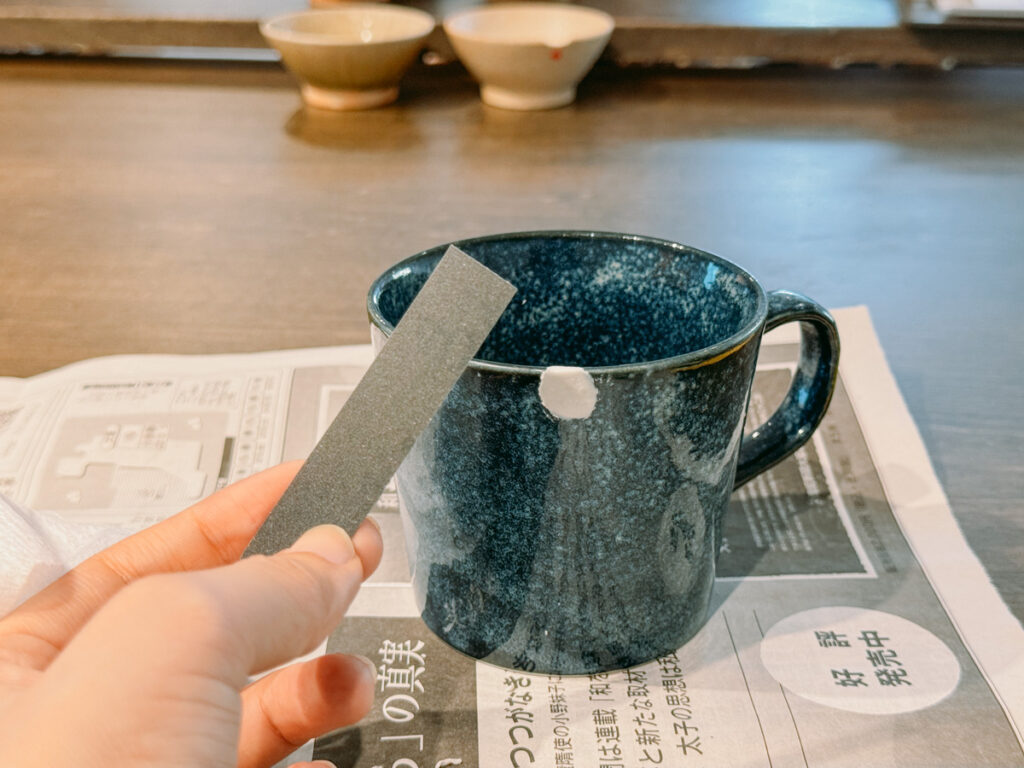
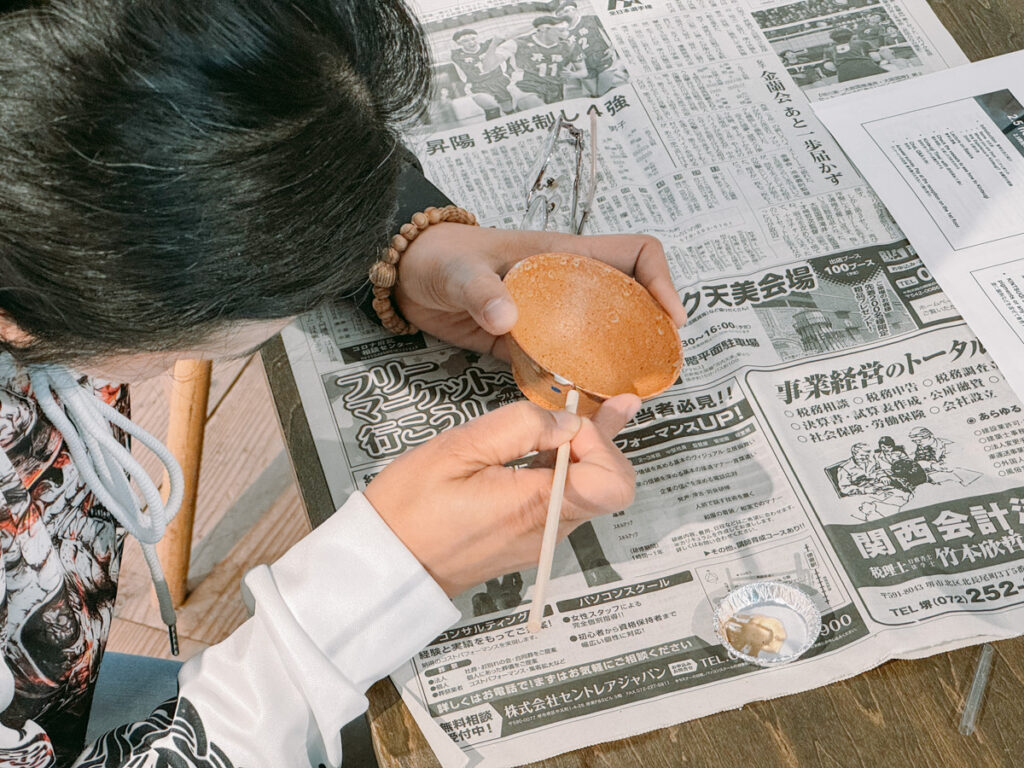
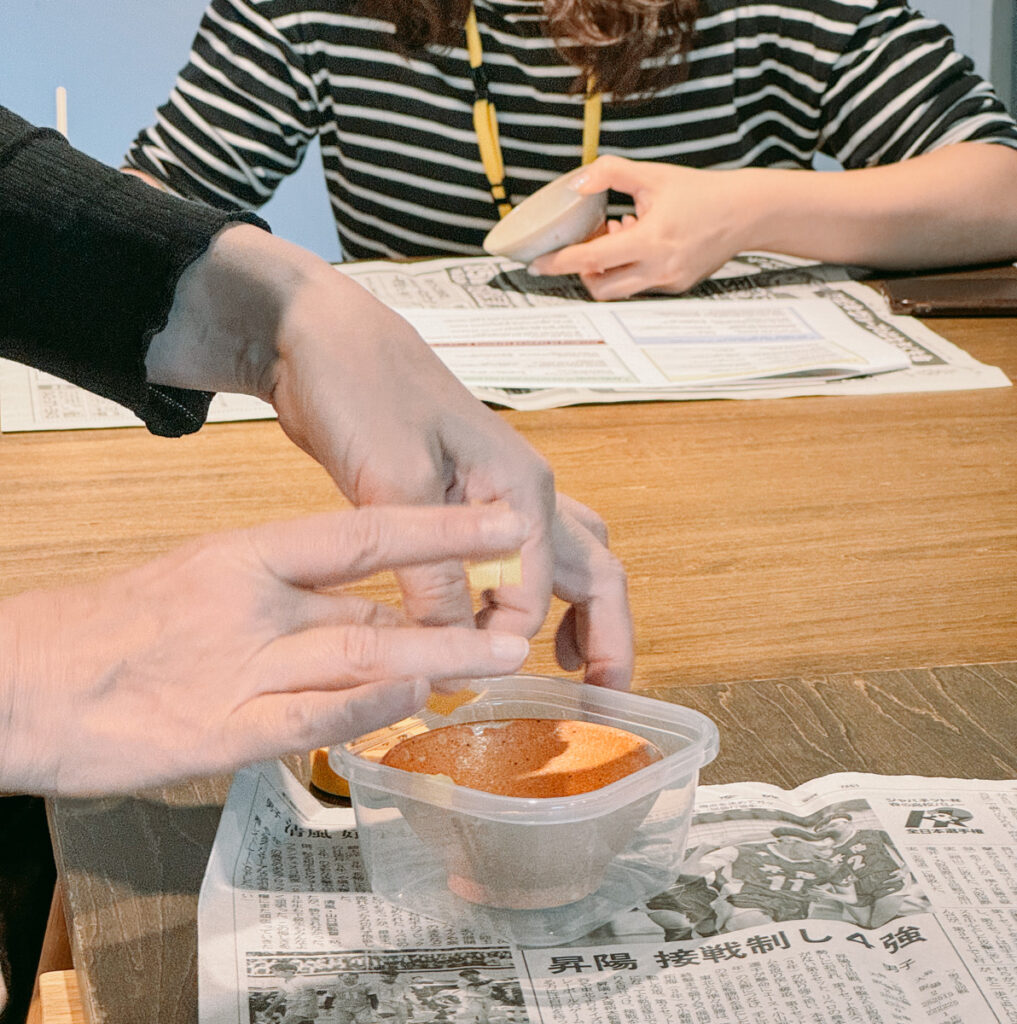
(2)モクモク研いで成形
パテが固まったら耐水ペーパーを濡らしながらパテを研ぎ、形を整えていきます。
黙々と作業することが好きな方にとってはここが醍醐味!
先生の場合、何も考えないで研ぎ続ける瞑想モードに入ることもあるそう。
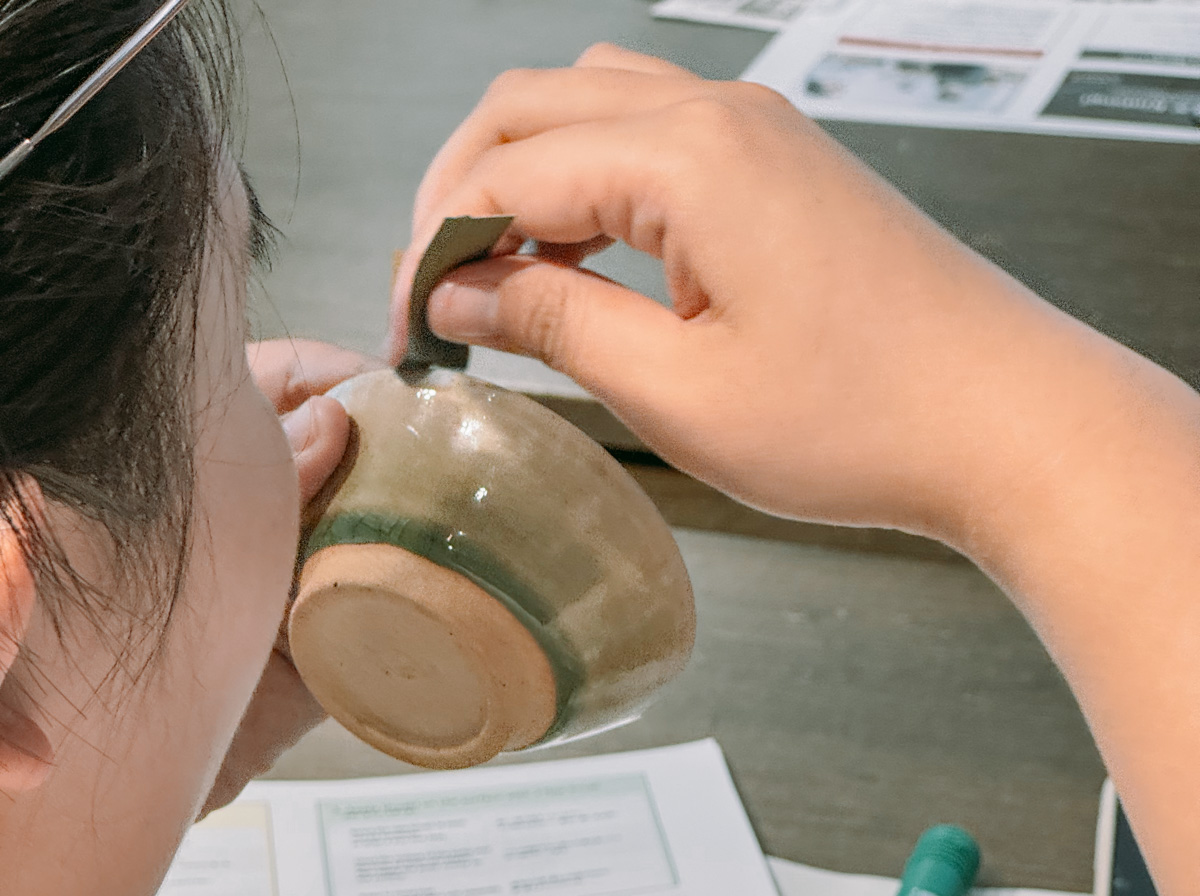
日本の伝統的な金継ぎでは、金継ぎ部分がなだらかに馴染むように成形するのですが、海外では金継ぎが際立つように敢えて盛り上げて目立たせることを好む方もいるんだとか!
参加者の皆さんには、それぞれが納得するところまで磨き上げていただきました。
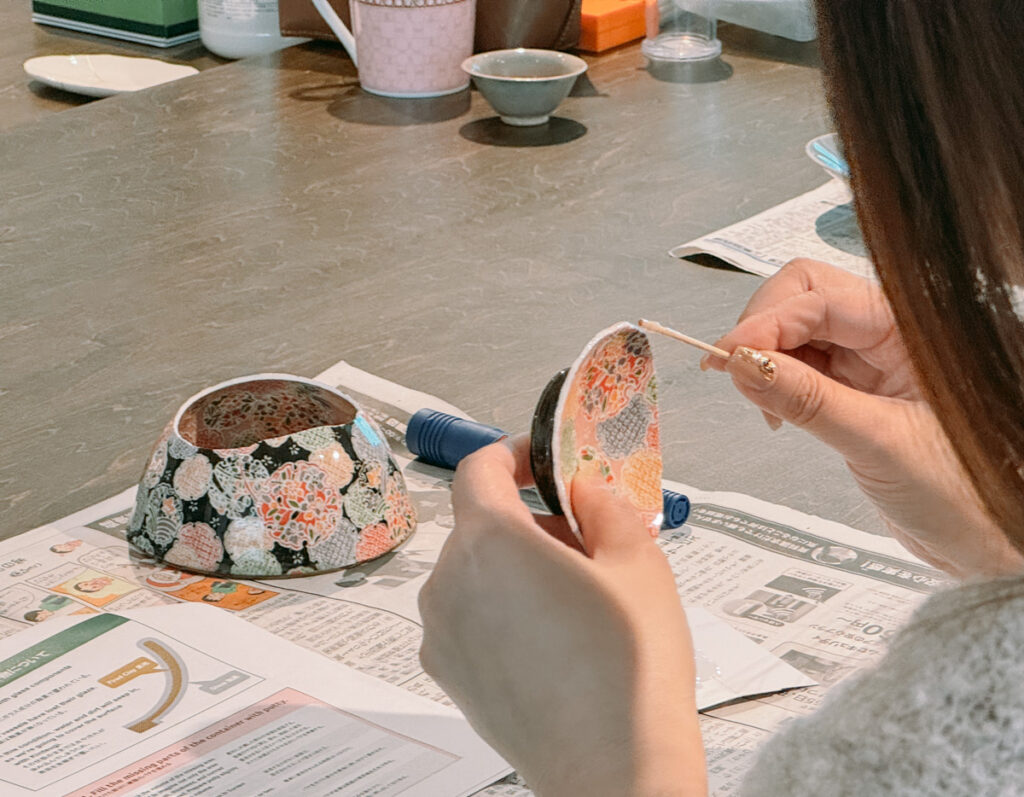
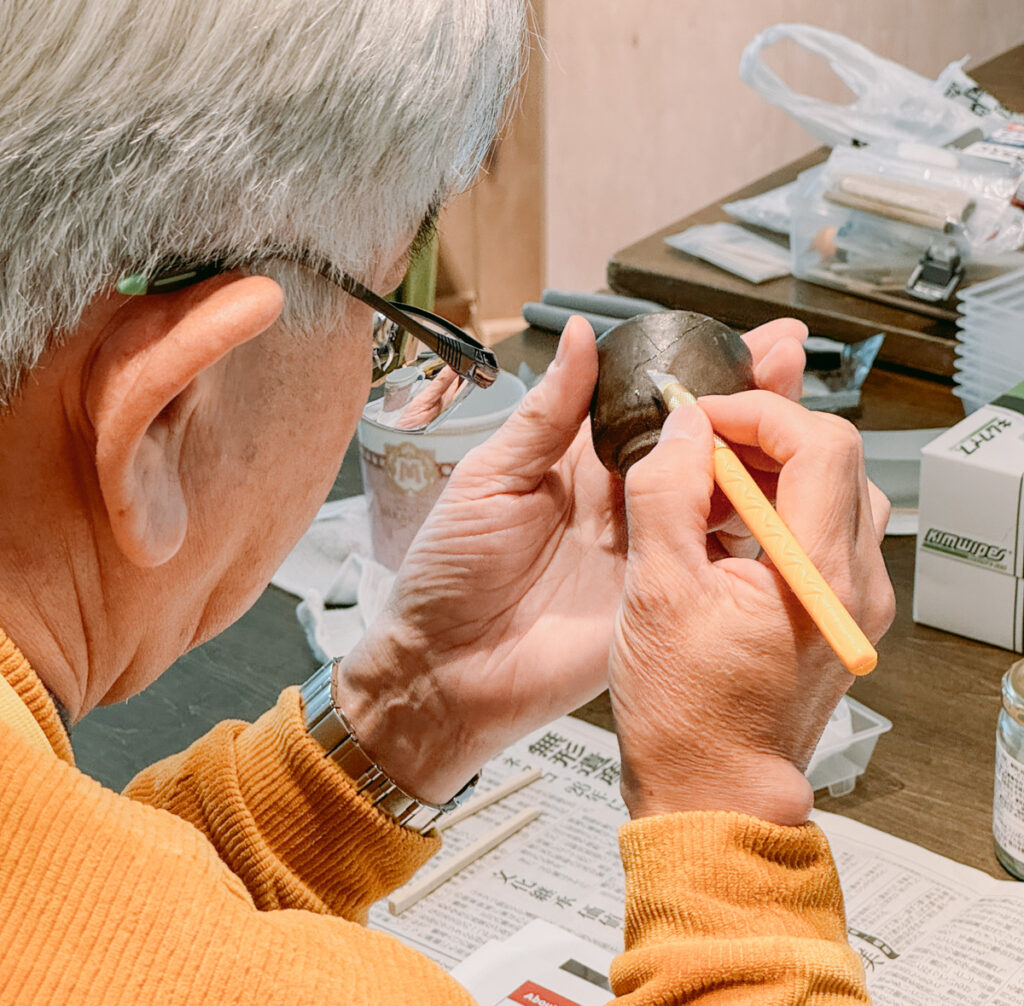
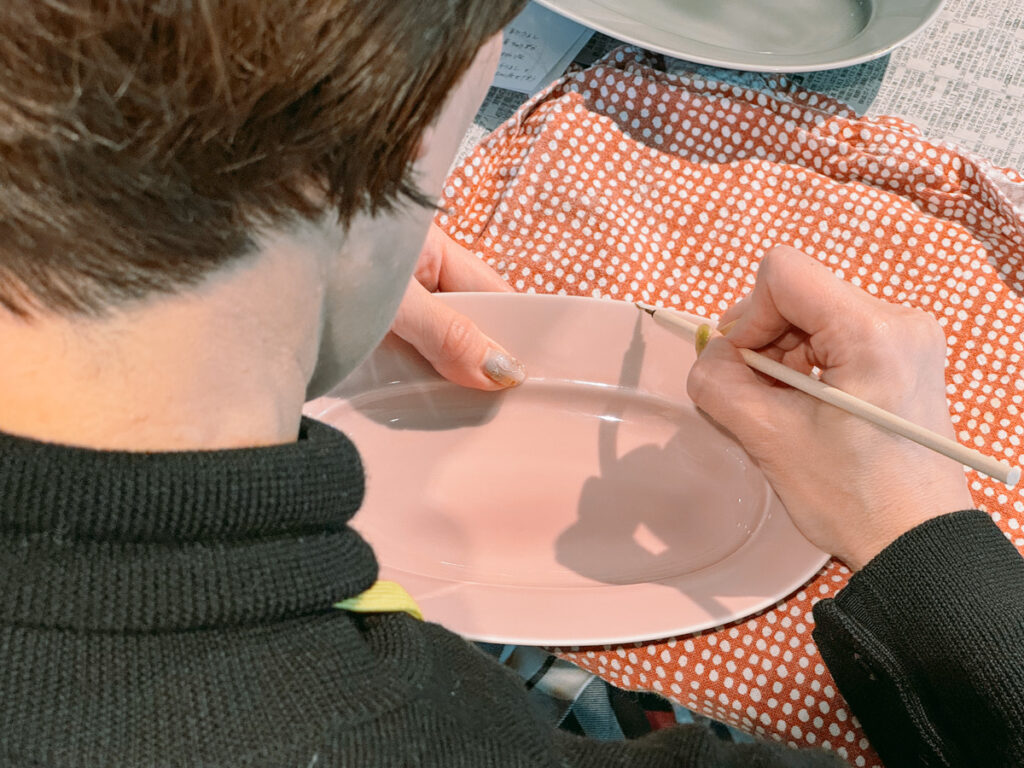
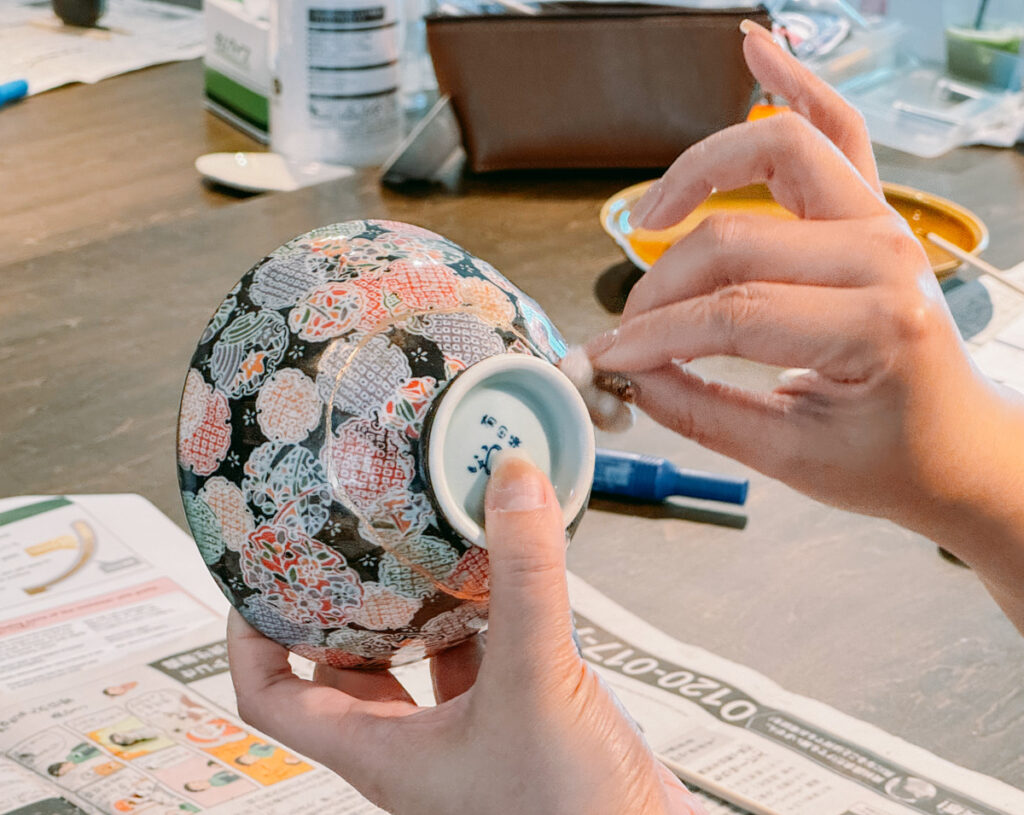
(3)新うるしを塗り、真鍮粉を蒔く
形が整ったらお化粧です。
新「うるし」と言うものの、原材料はウルシではなくカシューナッツの殻!かぶれにくく、絵の具のように扱えて、仕上がりが漆に近い塗料として簡易金継ぎで使われています。
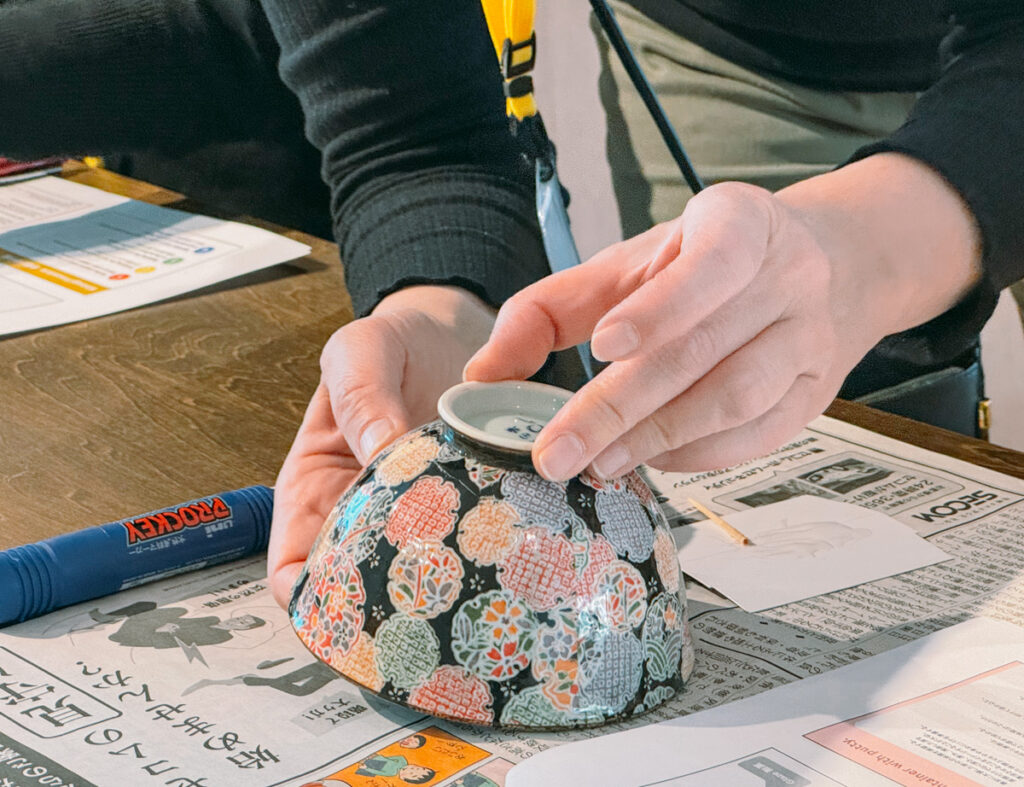
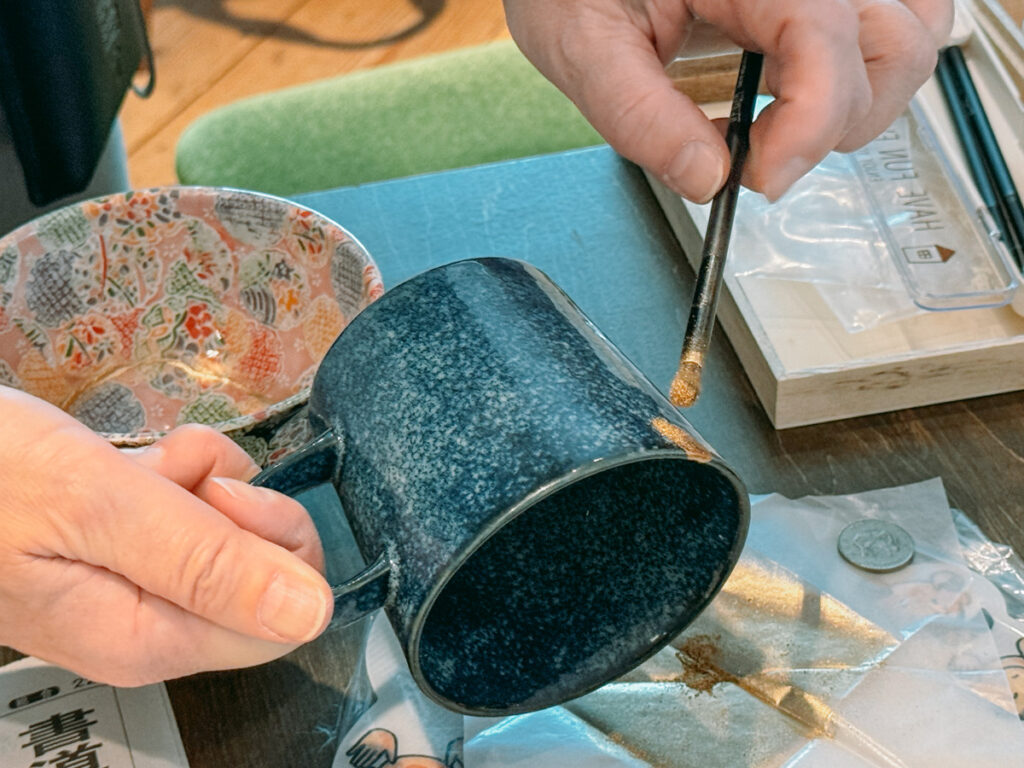
そして、新うるしを塗った上から真鍮粉を蒔き、真綿(シルク)で磨いて完成!
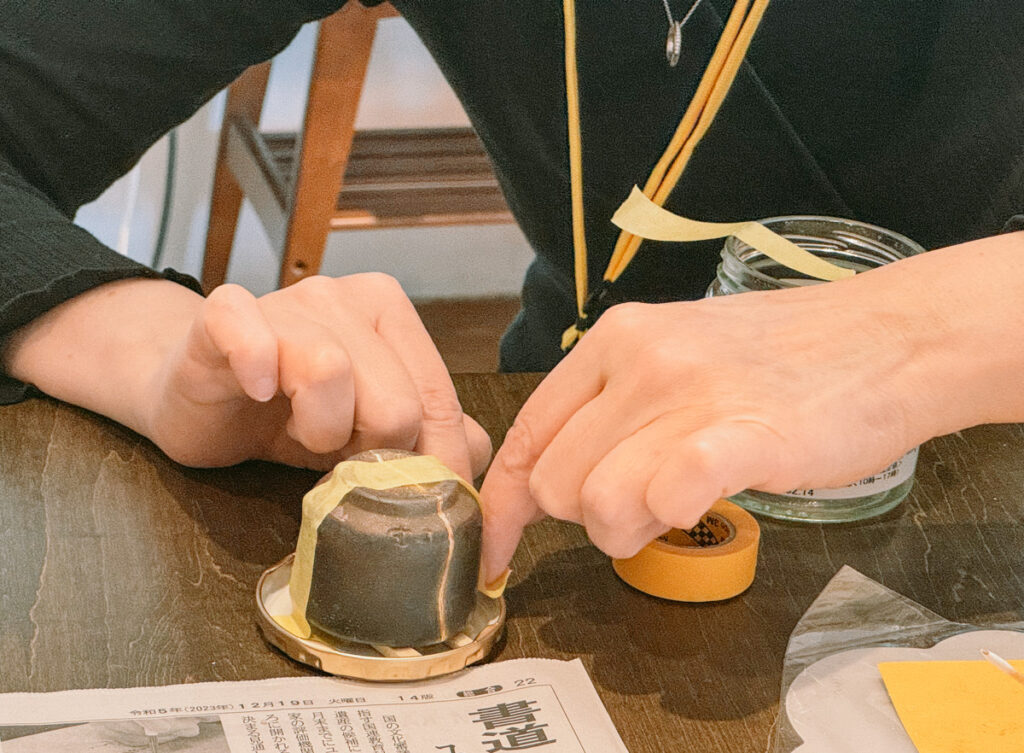
乾くまで24時間必要なため、器が動かないように丁寧に固定してお持ち帰りいただきました。
作業をしながら、先生からは技術的な指導はもちろん、金継ぎや漆にまつわる様々なお話をしていただき、とっても楽しい時間でした!
「『これぐらい研がなくちゃいけない』なんて考えずに、自分がいいと思うところまで研いだらいい」「東京パラリンピックの閉会式でも『日本には不完全さを受け入れ大事にしようという金継ぎの文化がある』と紹介された」
そんなお話をしてくださり、金継ぎからCHASHITSU timeの「正しくなくていい」というメッセージに通じる部分を感じられました。今回金継ぎ体験を開催することができて、本当によかったです!
探せば金継ぎ教室は結構あります◎
簡易金継ぎで手軽に体験してみるのはもちろん、本漆での金継ぎに興味を持たれた方は、通ってみるのも楽しいかもしれません。
[Report] Kintsugi Workshop for Beginners on February 10.
Hi, it’s Jun. I am in charge of public relations at CHASHITSU time.
Following the Ikebana workshop in January, we held a “Kintsugi workshop” for beginners on Saturday, February 10th!
The workshop was held twice, both in the morning and afternoon, with support available in English.
While there is a culture of lacquering tableware, particularly in Southeast Asia, the technique of using lacquer for repairing is unique to Japanese Kintsugi. The pandemic has increased the interest in Kintsugi among people overseas.
Participants ranged widely in age, from their 20s to 60s. Among them, there was a Japanese participant who treasured a broken vessel and wanted to learn Kintsugi from an instructor so that he could eventually do it himself. Another foreign participant mentioned, “I have been interested in Kintsugi as a traditional Japanese culture, but I never had a chance to try it. I didn’t have any broken vessels, so being able to purchase a vessel helped me a lot!”
The instructor is Ms. Kinako Ihara from Kobe Kinako-do.
In addition to her Hon-Urushi Kintsugi classes in Kobe, she also holds regular Easy Kintsugi workshops.
This time, we tried Easy Kintsugi as a casual introduction!
While traditional Kintsugi uses natural lacquer, it typically takes at least 3 months to complete a single vessel, necessitating control of temperature and humidity, as well as repeated work.
Easy Kintsugi, on the other hand, is a simplified method that can be completed in 2-3 hours using synthetic resin instead of lacquer.
Kintsugi time with a drink in hand!
First, the instructor took a look at the vessels we brought in, checking the difficulty level and Kintsugi process required.
Since the materials used for Easy Kintsugi do not meet the standards of the Food Sanitation Law, we also discussed how we intended to use them after Kintsugi and the precautions to take when handling them.
*Hon-Urushi Kintsugi uses real lacquer, flour, gold, etc., and the mended vessels can be used as tableware afterward. At CHASHITSU time, we enjoy doing Hon-Urushi Kintsugi on broken vessels.
(1) Filling Putty & Gluing
For chipped vessels, apply resin putty to the chipped areas. It’s a bit time-sensitive because once the two types of putty are kneaded together, they begin to harden and solidify within a few minutes!
Broken vessels are carefully glued together, and any glue that sticks out is scraped off.
(2) Sharpening & Shaping
Once the putty has hardened, it is sharpened and shaped using wet water-resistant paper.
If you like to work silently and concentrate, this is the best part!
In the case of the instructor, she sometimes goes into a meditative mode while working on this step.
In traditional Japanese Kintsugi, the Kintsugi part is shaped to blend in gently, but some people overseas prefer to make the Kintsugi stand out by raising it!
Participants were to polish their work to the point where each of them was satisfied with the result.
(3) Coat with New Lacquer & Sprinkle Brass Powder.
When the shape is ready, it’s time to apply the finishing touches.
Although it’s called “new urushi,” the raw material isn’t urushi but cashew nut shells! It’s used in Easy Kintsugi as a rash-resistant paint that can be handled like regular paint and provides a finish similar to lacquer.
Then, brass powder is sprinkled on top of the new urushi coating, and polished with silk to finish!
The vessels need 24 hours to dry. They were carefully secured to keep them from moving and taking them home.
While working, the instructor gave us not only technical instruction, but also various stories about Kintsugi and lacquer. It was a very enjoyable time!
She told us, “You don’t have to think that you have to sharpen it this much; you can sharpen it as much as you want” and “At the closing ceremony of the Tokyo Paralympics, it was introduced that ‘Japan has a culture of Kintsugi that accepts and cherishes imperfection.’”
I could feel a part of CHASHITSU time’s message of “you don’t need to be right” from Kintsugi. I’m happy that we managed to hold a Kintsugi workshop!
There are quite a few Kintsugi classes available if you look for them. If you are interested in Kintsugi using real lacquer, it may be fun to try it!